Difference between revisions of "VCloud.ai VSaaS user manual 1.1"
| (4 intermediate revisions by the same user not shown) | |||
| Line 75: | Line 75: | ||
Click the settings icon in front of the camera in the list: <br><br> | Click the settings icon in front of the camera in the list: <br><br> | ||
[[File:Camera settings.png|left|thumb]] | [[File:Camera settings.png|left|thumb|300x300px]] <br><br><br><br><br><br> | ||
| Line 92: | Line 92: | ||
Then go to Share camera tab: <br><br> | Then go to Share camera tab: <br><br> | ||
[[File:Share camera tab.png|left|thumb]] <br><br> | [[File:Share camera tab.png|left|thumb]] <br><br><br><br><br><br> | ||
| Line 107: | Line 107: | ||
Click the Plus button: <br><br> | Click the Plus button: <br><br> | ||
[[File:Add sharing.png|left|thumb]] <br><br> | [[File:Add sharing.png|left|thumb]] <br><br><br><br><br><br> | ||
| Line 123: | Line 123: | ||
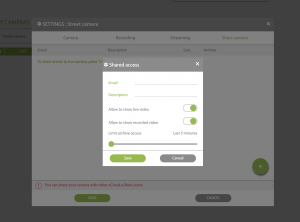
Fill the form using an existing vCloud.ai user email: <br><br> | Fill the form using an existing vCloud.ai user email: <br><br> | ||
[[File:Form.png|left|thumb]] <br><br> | [[File:Form.png|left|thumb]] <br><br><br><br><br><br> | ||
| Line 133: | Line 133: | ||
<br><br> | <br><br><br><br> | ||
Then click Save. <br><br> | Then click Save. <br><br> | ||
Latest revision as of 12:34, 15 March 2023
vCloud.ai VSaaS User manual Contents
Running client apps
Find vCloud.ai app in installed apps and run it, or open the web browser and follow the link: https://app.vcloud.ai
Signing in
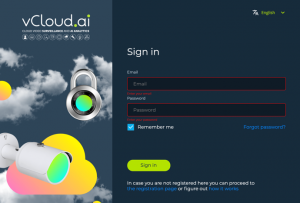
Sign in with your vCloud account credentials:
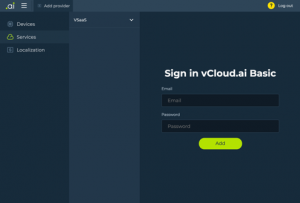
Click Add provider button or go to Settings->Services->VSaaS and log in to VSaaS system.
In case if you're using vCloud.ai Basic cloud service, please use your vCloud account credentials:
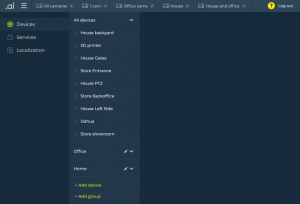
Your cameras should appear in All devices list in the Devices section of the Settings:
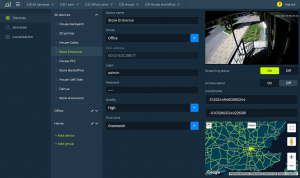
You may select one of the cameras to make sure that the client is connected to VSaaS and operating properly.
Creating and editing layouts
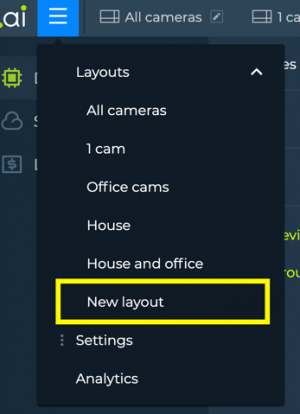
Click New layout in the main menu
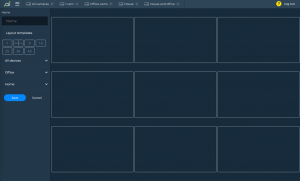
The Layout editing page will open
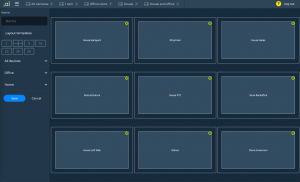
Give your new layout a Name, choose Layout template and drag’n’drop cameras or whole groups to the layout grid on the right hand side.
Click Save to save your layout. To edit existing layouts click the Pencil button in the layout tab menu on the top of the screen:
Viewing live video
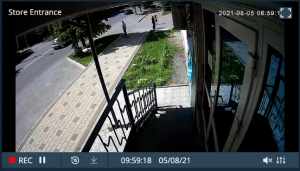
After creating and saving a layout your cameras should be displayed on the screen in live mode. You can see the status of the in the left bottom corner. Rec means that the camera is connected to VSaaS and cloud recording is ongoing. Live means that the camera is available only for live viewing.
Use Maximize and Minimize buttons in the top right corner to scale individual video windows. Alternatively, you can click the video with left mouse button.
Live stream selection
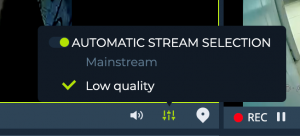
Click the Video stream settings button to select the stream and turn on/off automatic stream selection.
Automatic stream selection keeps your network traffic low as it shows you low resolution stream when the video window is minimized and shows high resolution stream when the window is maximized or full screen.
Working with sound
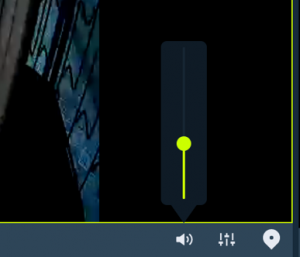
In case if the camera streams video with sound you may unmute individual cameras and adjust volume.
Working with Maps
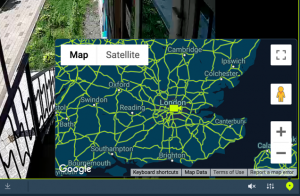
Click the map button in the bottom right corner of the video window to open the map
You can adjust camera position on the map in camera settings: Settings->Devices->All cameras->[Camera name]
Quick replay
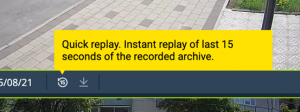
To view the archive of last 15 seconds of recording, click the 15 (quick replay) button. This will instantly switch the video window to Archive mode.
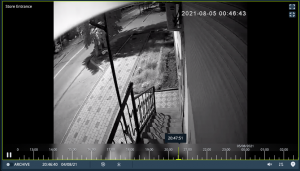
Playing archive
Click Live/archive switch button when the video window is of a medium size to switch to Archive mode
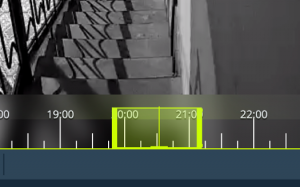
The timeline will appear. You can zoom in/out and drag the timeline to jump to a specific time in the archive.
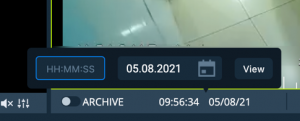
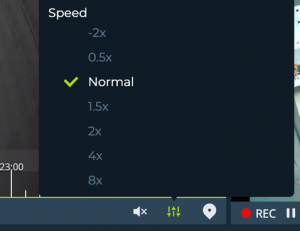
Click the time counter to input time and date manually. Click the settings button to select playback speed
Exporting footage
Double-click the timeline to select the time frame for exporting
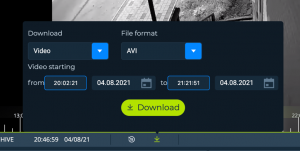
Then click the export button and specify required parameter. Click Download to prepare and download the footage. Please note that the archive is stored in small video clips, so it may take some time to prepare the video for downloading at the server side.
Working with PTZ
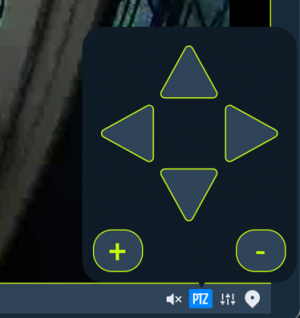
If you have a PTZ camera in your system then you can click the PTZ button and use onscreen pan/tilt/zoom controls to rotate and zoom in/out.
Digital zoom
You can zoom in/out video streams and archive playback with digital zoom with your mouse wheel while hovering on the video window.
Sharing camera access with other vCloud.ai users
You can share access to your cameras with other vCloud.ai users.
To set it up you need to log in to https://basic.vcloud.ai using your vCloud.ai credentials.
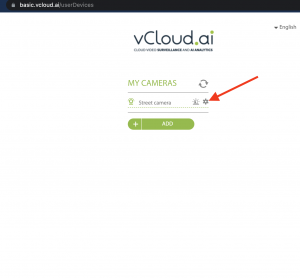
Click the settings icon in front of the camera in the list:
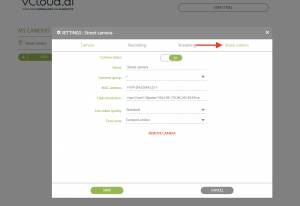
Then go to Share camera tab:
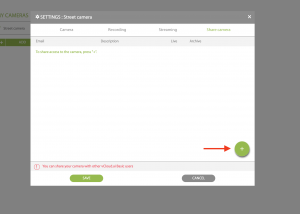
Click the Plus button:
Fill the form using an existing vCloud.ai user email:
Then click Save.
The specified user will now see the camera in his vCloud.ai account.
Hints
Click the
button to enable and disable Hints. The hints will appear when you hover on the active elements of the user interface.
